
This guide will provide an overview of the GA Voicemail Administration Portal. Use the portal to create new accounts and manage existing accounts within your organization.
Note: Not all Administrator accounts will have access to all features.
Getting Started
To begin managing Users within the GA Voicemail Administration Portal, you will need an Administrator Account. Please contact GA Voicemail Support to activate your Administrator Account and receive your credentials.
Navigate to www.gavoicemail.com or https://on.platform28.com/gavoicemail. Enter your credentials and click Sign In.
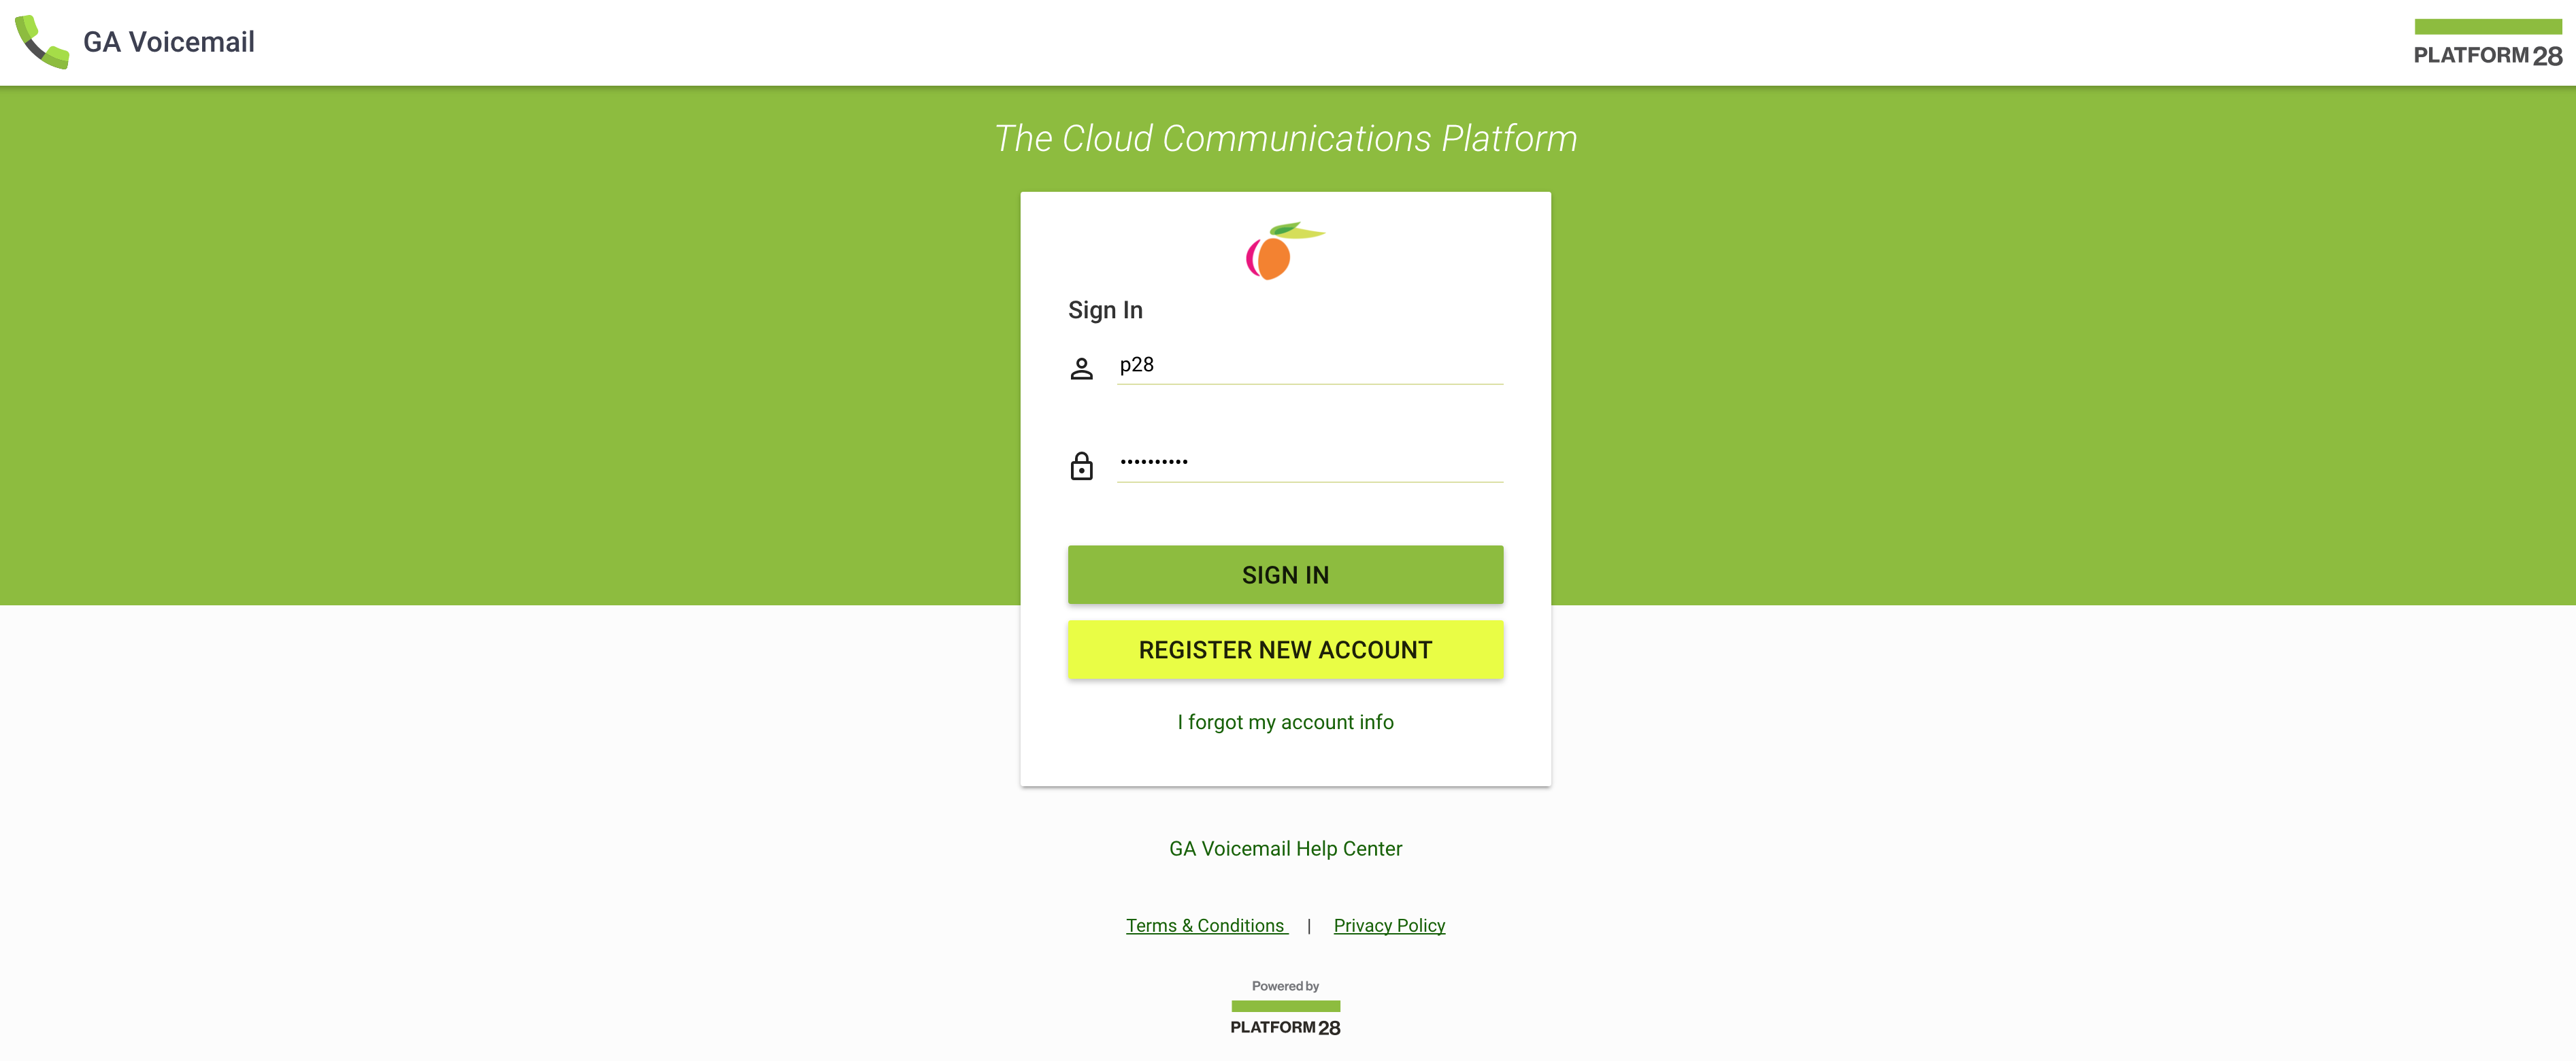
Admin Portal Navigation
It’s time to take a tour and ensure you are familiar with how to navigate through the GA Voicemail Administration Portal and the options available to you. The initial login screen is the Account Search screen.

Navigation Panel
The Navigation Panel is located on the far left hand side of the screen. From here you can navigate between Account Settings, Search, Phone Numbers, Users, Help Center, and Log Out. At the very top in the toolbar, you will see a hamburger icon. This icon is used to expand and collapse the Navigation Panel. You can opt to either see icons only or icons and titles. The menu option currently in use will always be highlighted in green.


Account Settings
The General tab is used to make any necessary changes to your Account Profile. Note that the User ID cannot be modified.
The Account Overview shows details about the account such as the status and the creation date/time.
Last Login shows the last time you logged in to your account.

The Account History tab is a view only option to see what changes have been made to your account as well as your access history.

Search
Account Search is the initial landing page when you first login to your account. Use the different search functions to search within your Organization or any associated Sub-Organizations. You can search by phone number, name, User ID, or email address.

Phone Numbers
Click on Phone Numbers to see a listing of all phone numbers for your Organization. If the number is in use, you will see where the number is routed. If the number has yet to be registered by the User, the routing will show the phone number is unregistered. When you need to search for a specific number or phone number route, begin typing in the blank space at the top of one of the columns. As you type, the results will be filtered and display on the bottom of the screen. Results in the Number Routed to column are usually links to that User’s Profile.

Users
The Users option provides you with a listing of all Users registered to your Organization. When you click on the User’s name, their Account Settings will display on the right. You can make changes to the User Account as necessary, but will not be able to do certain things such as modify the Recorded Name or change the User ID.

User Options
There are a number of things that you can do as the Administrator for the User such as reset the password and reset the account. You can also Block the User or Delete the account as necessary. To access these options, click on the three dots to the right of the screen when you are inside the User’s profile.

You will be provided with the following options:

Reset Web Password
To reset a user’s password, click on Reset Web Password from the User Options menu. In the next screen, enter the administrator’s password, the email address of the user, and comments as to why the password is being reset. Click Send Reset Email. The user will receive instructions on resetting their password.

Reset Account
When a user’s account has become inactive and the mailbox needs to be assigned to another user, click on Reset Account from the User Options Menu. Note that resetting an account will completely erase all settings and user information from the account. If the existing messages must be retained, click the Keep All Messages box. Enter comments into the space provided including details of the account reset. Click Yes.

Help Center
When you click on Help Center, you will be taken to the Platform28 Help Center. From the Help Center you can find things like Release Notes and the Platform28 Knowledge Base..

Creating a New Account
To create a new account, click on  in the upper right hand corner of the screen.
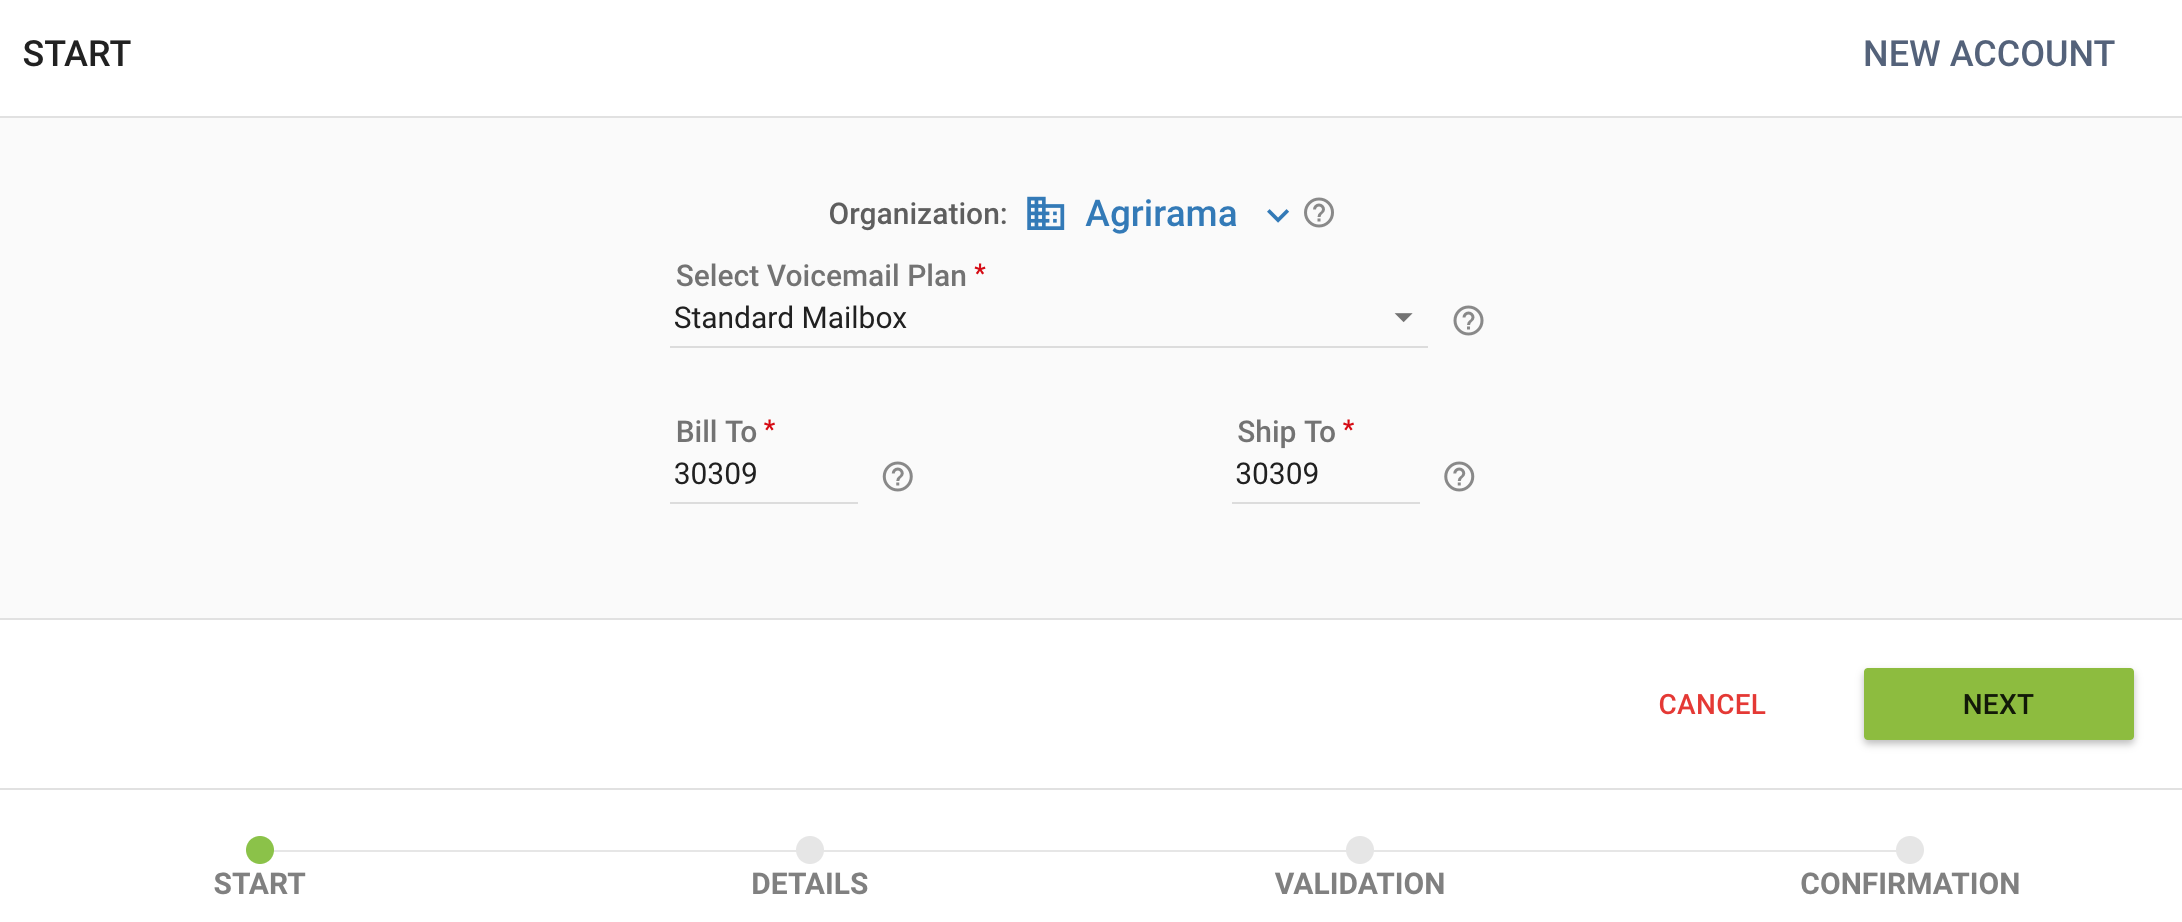
Select the appropriate Organization from the drop down provided and choose the correct Voicemail Plan for the new account. The Bill To and Ship To are the account numbers associated with the account. Click Next
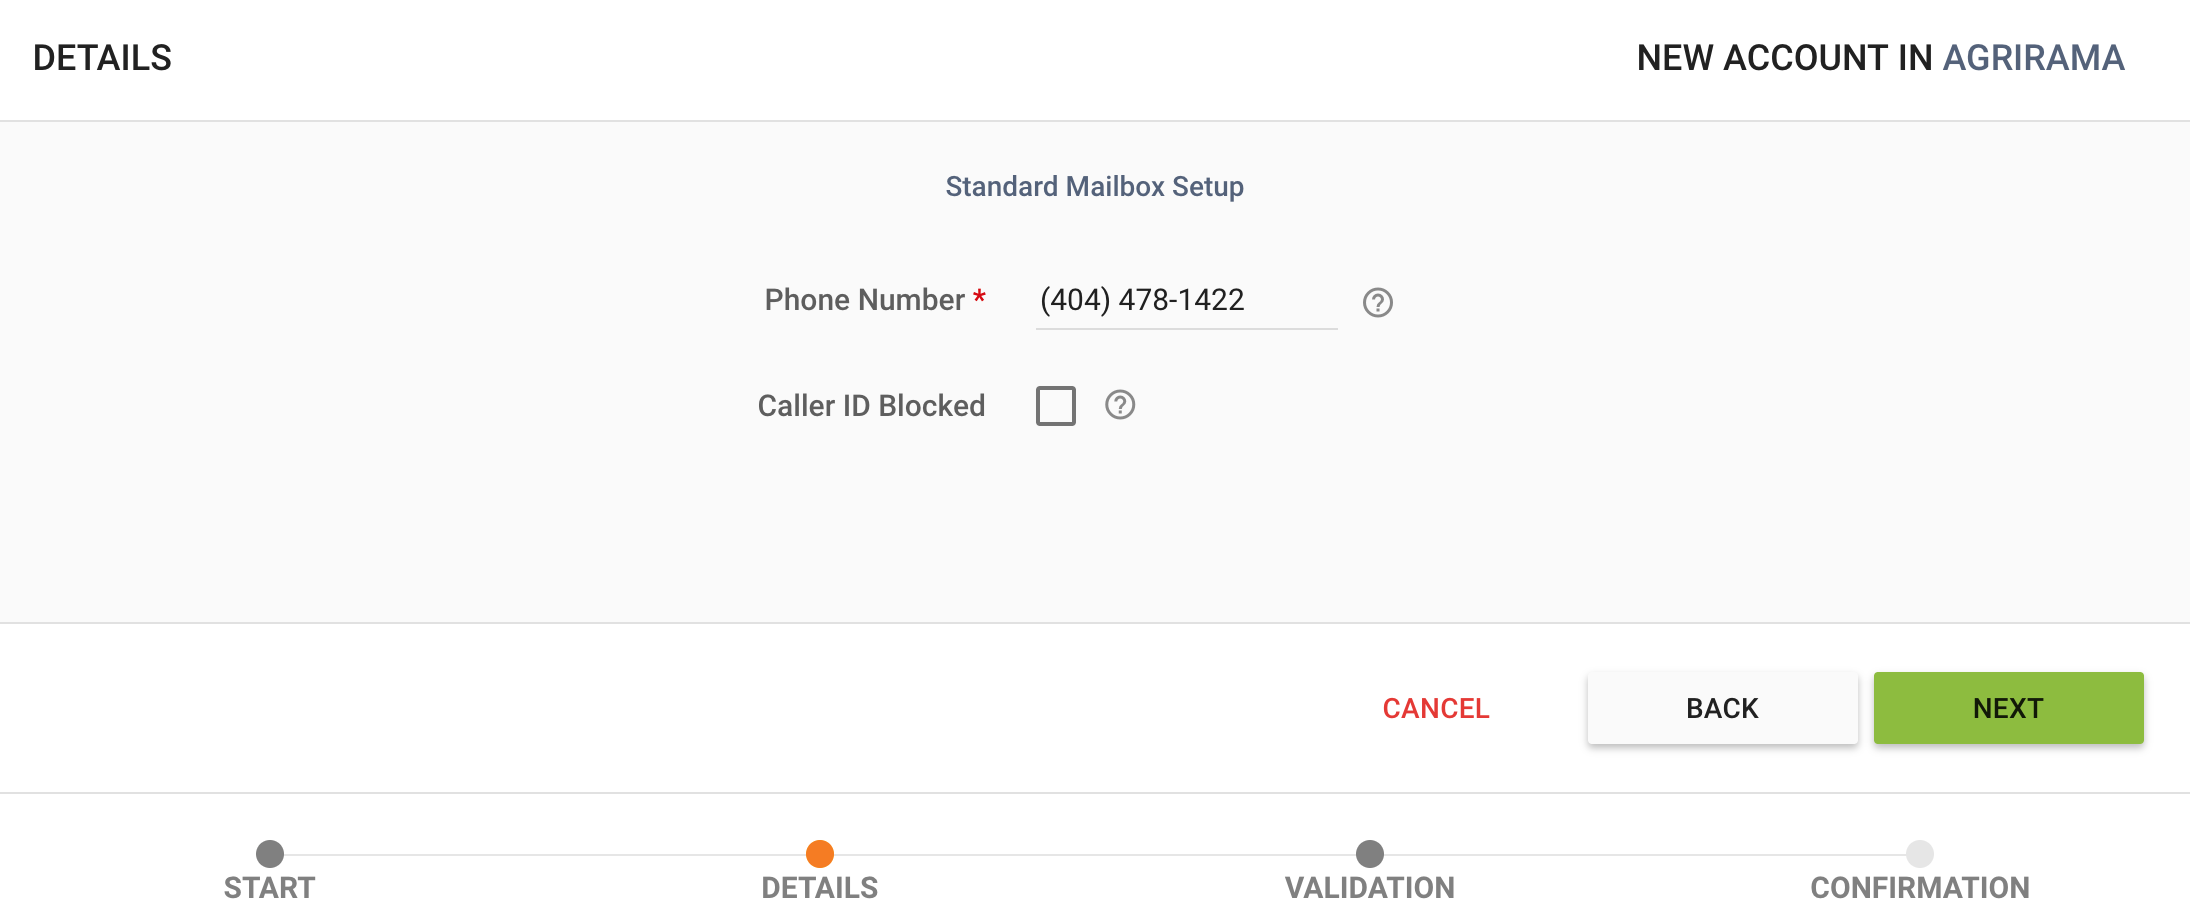
Enter the Phone Number associated with the Voicemail Account. Occasionally a telephone number has the Caller ID Block feature to preserve privacy during outgoing calls. Check the Caller ID Blocked box if this telephone number has this feature enabled. Click Next.
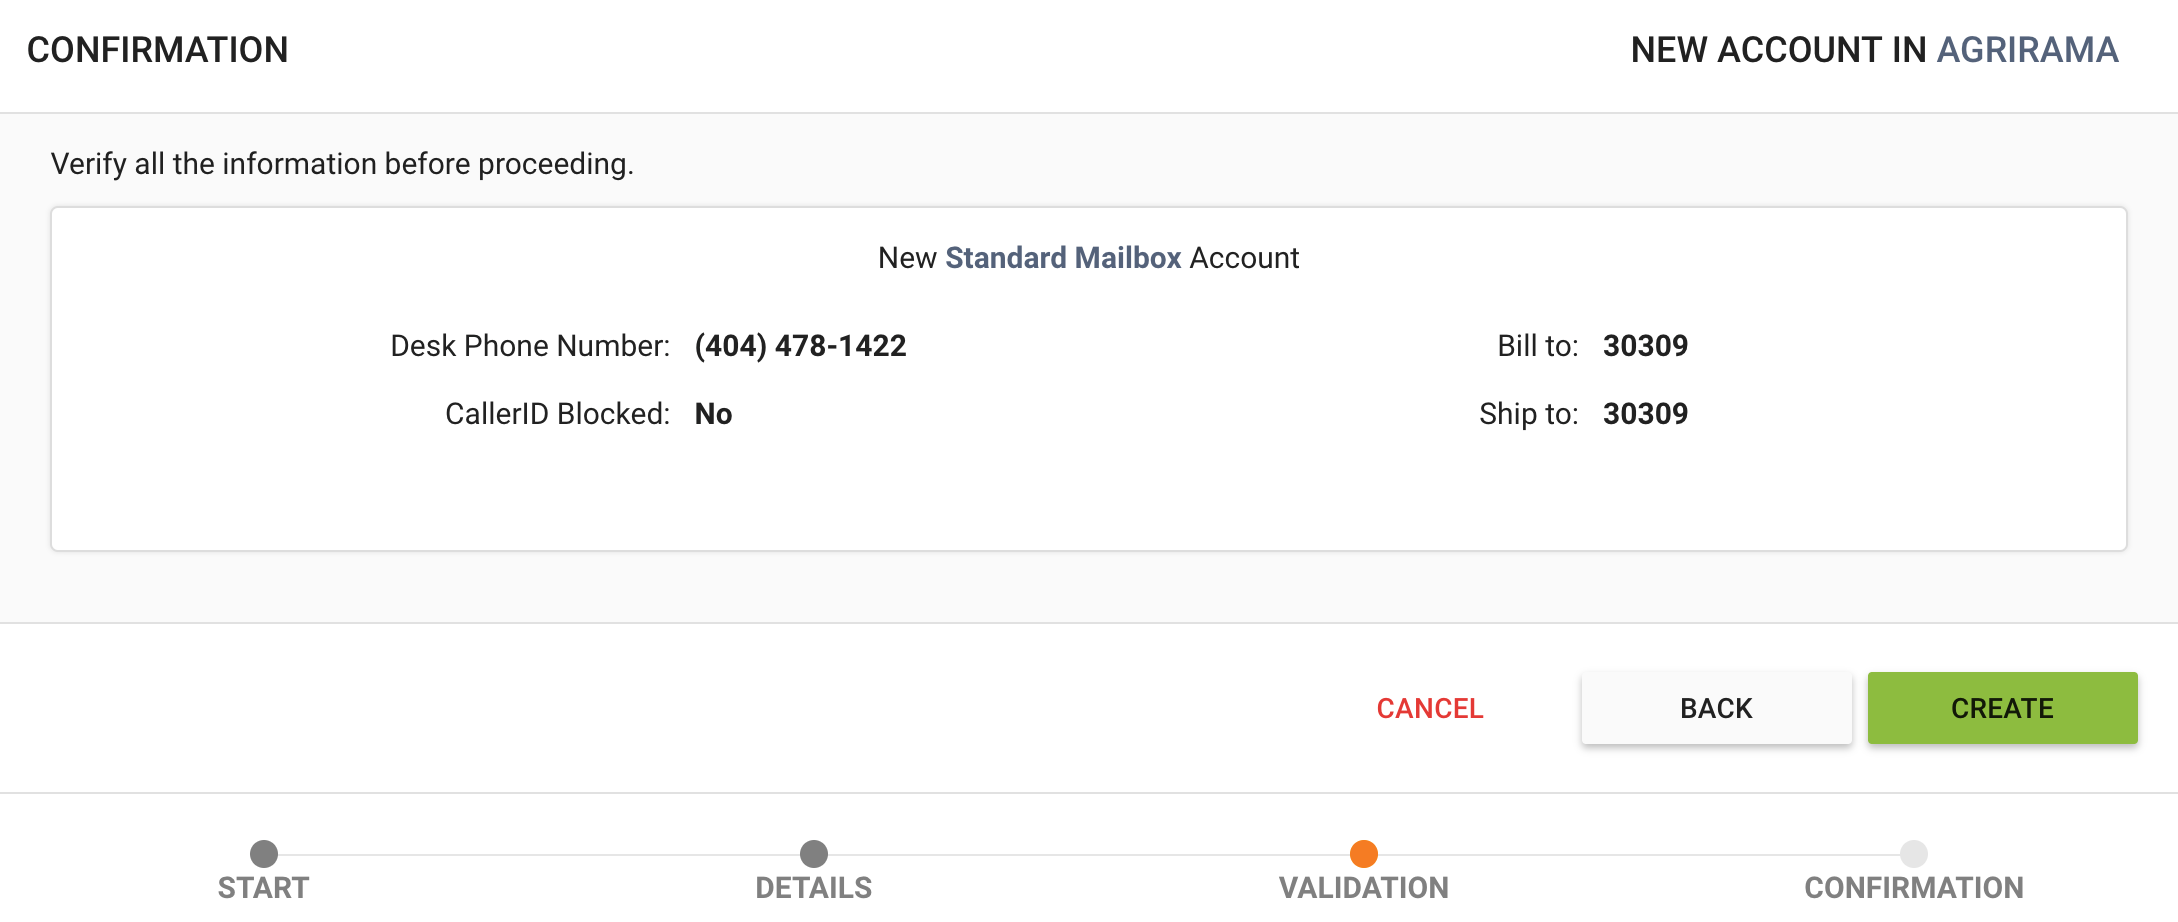
You will be provided with a final confirmation page prior to completing account creation. Review the details and click Create to confirm setup. If the phone number is already in the system, you will receive an error message after clicking Create which will tell you the number is already associated with another account. Go to the Search page and search for the phone number.
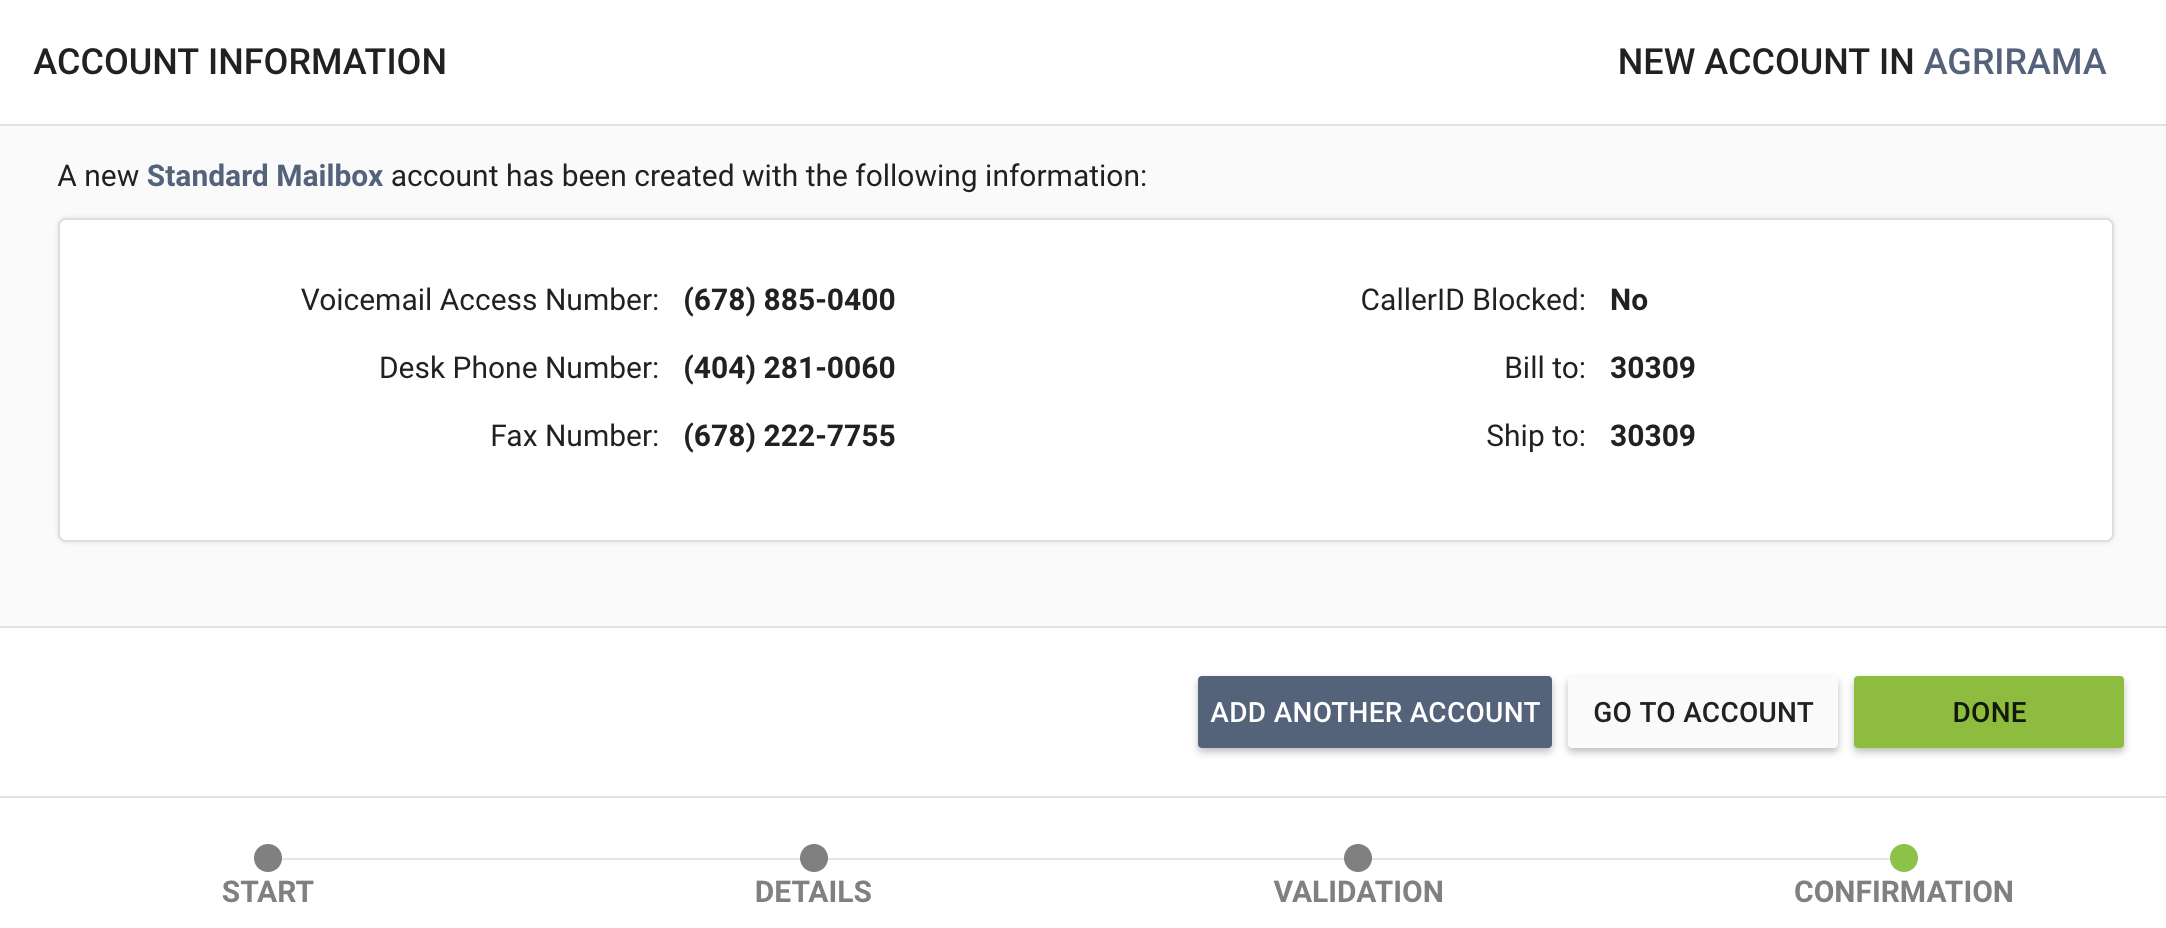
GA Voicemail will generate the appropriate access and/or fax numbers depending on the voicemail plan chosen during account creation. From the confirmation screen, you can click Done which will take you back to the page you were on prior to creating a new account. Go To Account will take you to that user account and Add Another Account will allow you to create another new account prior to returning to the administration options.
Notify the User for the New Account that they can now register their Desk Phone Number at www.gavoicemail.com.
User Quick Start Guide
The Platform28 - GAVM User Guide can be found in the Help Center and should be used to set-up a new voicemail account.
This concludes our tour!
If you have any additional questions, please contact GA Voicemail Support at (678) 891-5805 or through the Help Center.
Comments
0 comments
Article is closed for comments.